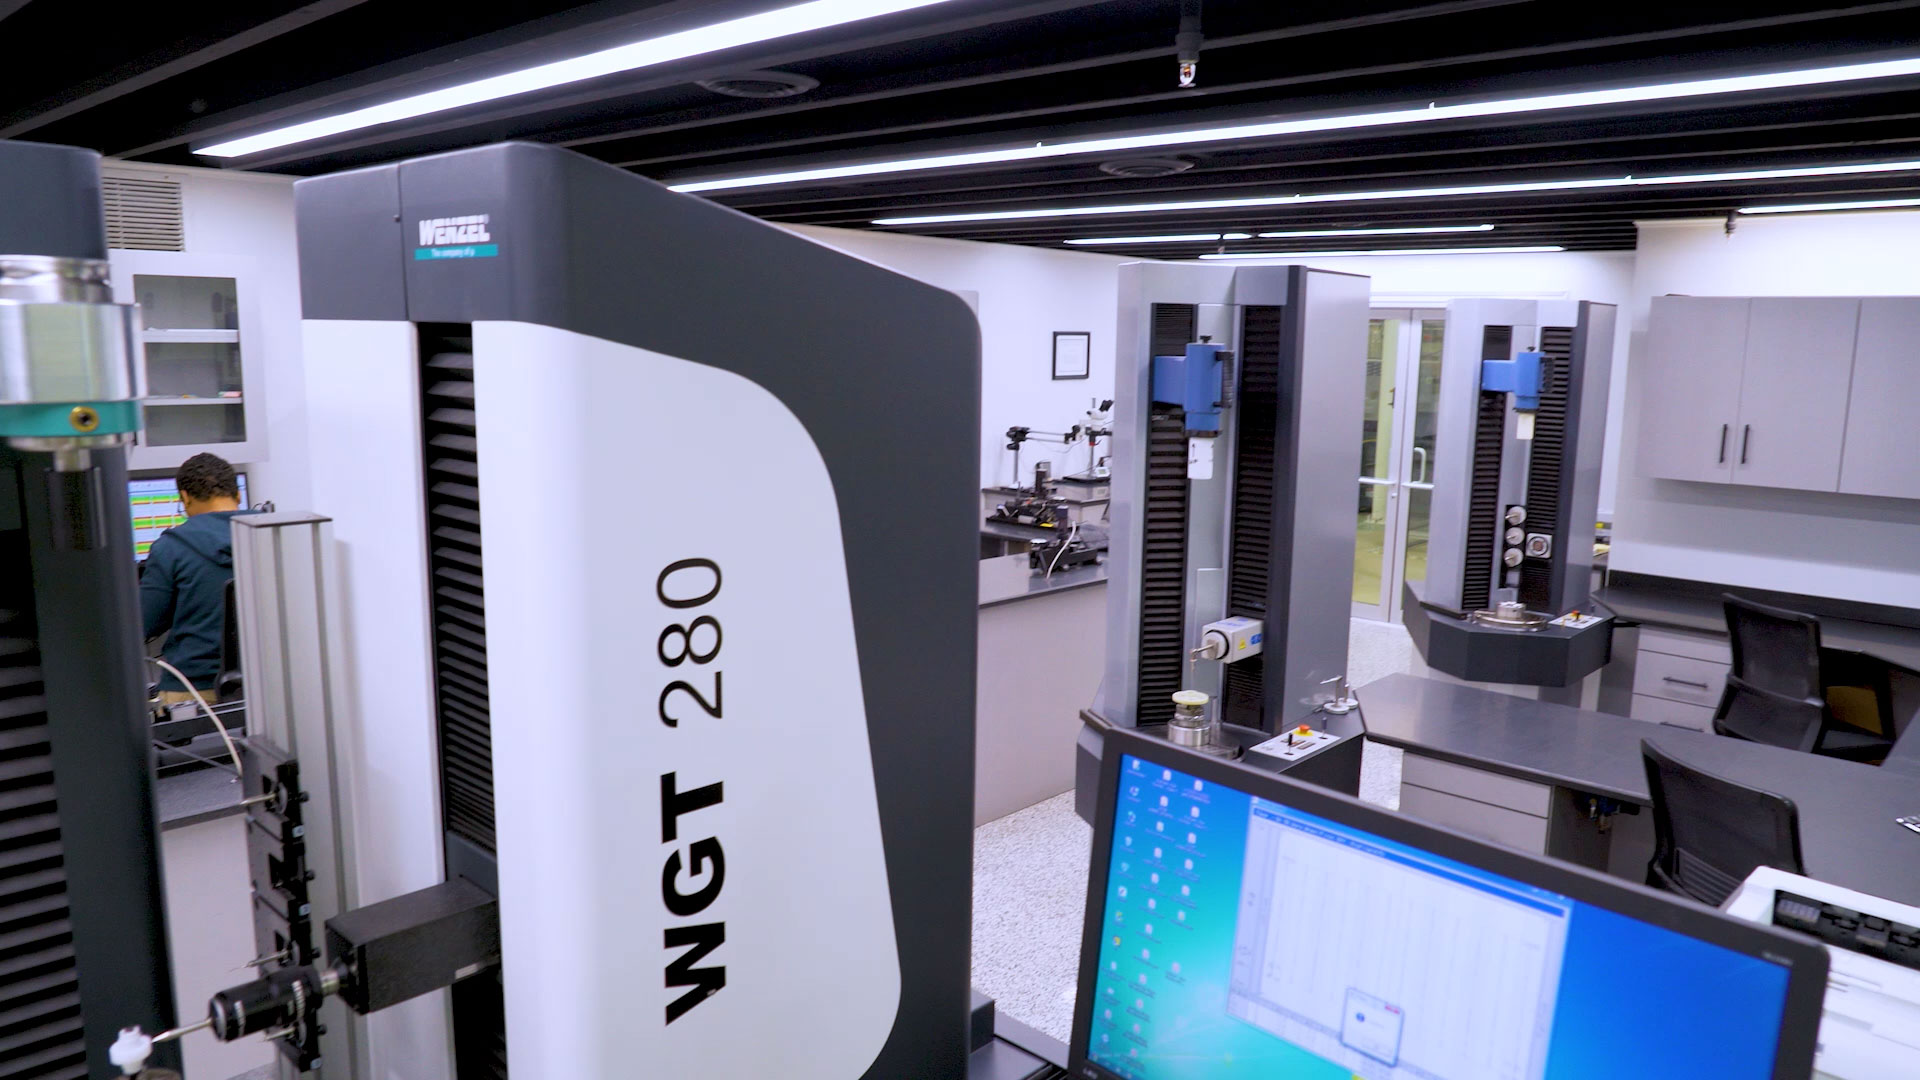
Inaccuracies in gear geometry can cause many problems, from undesirable noise to tooth fracture. The PGS Gear Metrology Lab fully reviews and qualifies our entire production process from tooling, to cavity inspection, to final product validation.
Not widely available in the molding industry, our precision gear inspection equipment validates tooling and production parts, and measures and analyzes all gear geometry. This ensures optimal accuracy, consistency and quality for our clients.
Quality Assurance is not an afterthought at PGS. It is the means by which we measure the success of our exacting standards. We provide our clients with complete visibility to inspection data, and stand behind each job we do. We apply APQP (Advanced Product Quality Planning) procedures, the industry standard for ensuring consistent quality and client satisfaction.
Inspection protocols include:
- First article inspection reports
- PPAP
- Capability studies
- Statistical process control
- In-process control plans
Gear Inspection Equipment:
- Automated Vision Inspection
- CMM (coordinate measuring machine)
Gear Inspection Capabilities:
- Double Flank composite gear checking – evaluates total composite error and tooth-to-tooth error, and tests pitch radius to determine the quality and accuracy of gear geometry.
- Analytical gear checking – provides data with regard to individual elements of the gear: run-out, lead variation, tooth-spacing and profile error. Often used for troubleshooting, this method is used to quickly pinpoint the source of any errors.
The Quality Control Department at Performance Gear has a state of the art metrology lab to service our customers. The metrology lab has the latest inspection equipment required to fully qualify the entire manufacturing process from tooling, cavity inspection and final product validation. This sophisticated gear inspection equipment used by Performance Gear is not widely used throughout the molding industry. It is used to validate tooling, and production parts as well as measure and analyze gear geometry. This equipment ensures optimal quality for our customers. With years of experience providing quality products to the automotive industry, our trained technicians are fully aware of the customers’ requirements when it comes to delivering the best.
Our state-of-the-art Gear Metrology Lab provides double flank composite gear testing, analytical gear checking, and boasts multiple Optical Coordinate Measuring Machines.
Double flank composite gear checking evaluates total composite error, tooth-to-tooth error, and tests pitch radius to determine the quality and accuracy of the gear geometry.
Analytical gear checking provides data with regard to individual elements of the gear, including run-out, lead variation, tooth-spacing, and profile error. This data is often used for troubleshooting and used as a method to quickly pinpoint the source of any noise or errors.
Our Inspection Capabilities also include First article inspection reports, PPAP, Capability Studies, Automated Vision inspection, statistical process control, and in-process control plans.
Performance Gear Systems has been a member of AGMA since 1999 and is ISO 9001-2008 certified. Quality Assurance is not an afterthought at PGS; it is the means by which we measure the success of our exacting standards. We provide our clients with complete visibility to all production data and materials related to their project and stand behind every job we do.


